
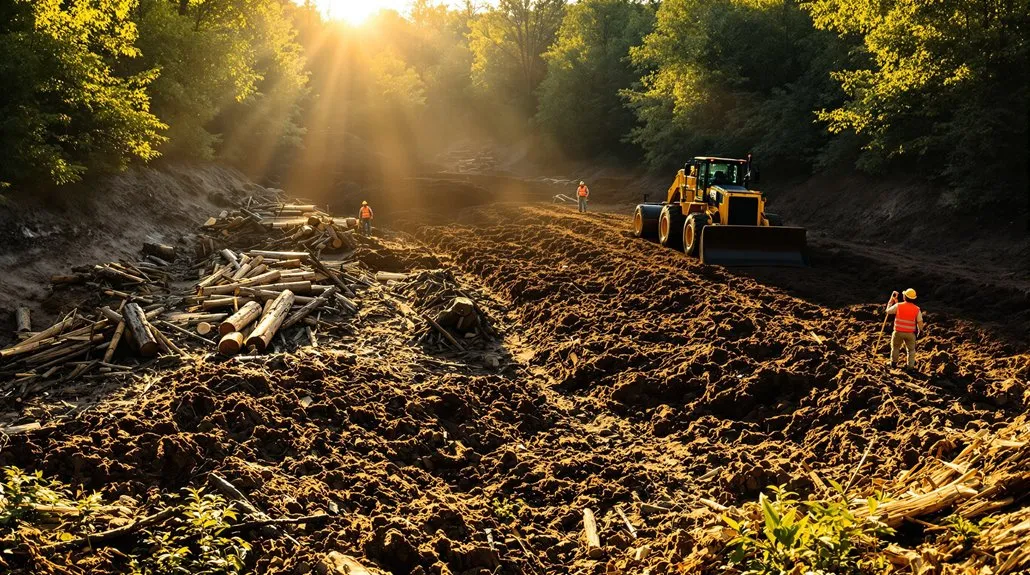
Before clearing land for landscaping, check local permits to avoid costly fines. Mark all trees you want to keep, underground utilities, and property lines before touching anything. Choose the right clearing method based on your property’s size and vegetation density. Decide whether renting equipment or hiring a crew fits your budget and timeline. Finally, manage debris removal and erosion control immediately after clearing. Keep going to master each step.
Key Takeaways
Secure land clearing permits from your local zoning office before starting to avoid costly fines and project delays.
Mark trees, underground utilities, and property boundaries clearly using spray paint, flags, and stakes before clearing begins.
Choose the right clearing method based on your property size, vegetation density, and available equipment or budget.
Decide whether to rent equipment or hire professionals based on your experience level, timeline, and property complexity.
Control erosion immediately after clearing by installing silt fences and seeding exposed areas with fast-germinating cover crops.
Check Local Land Clearing Permits Before You Start
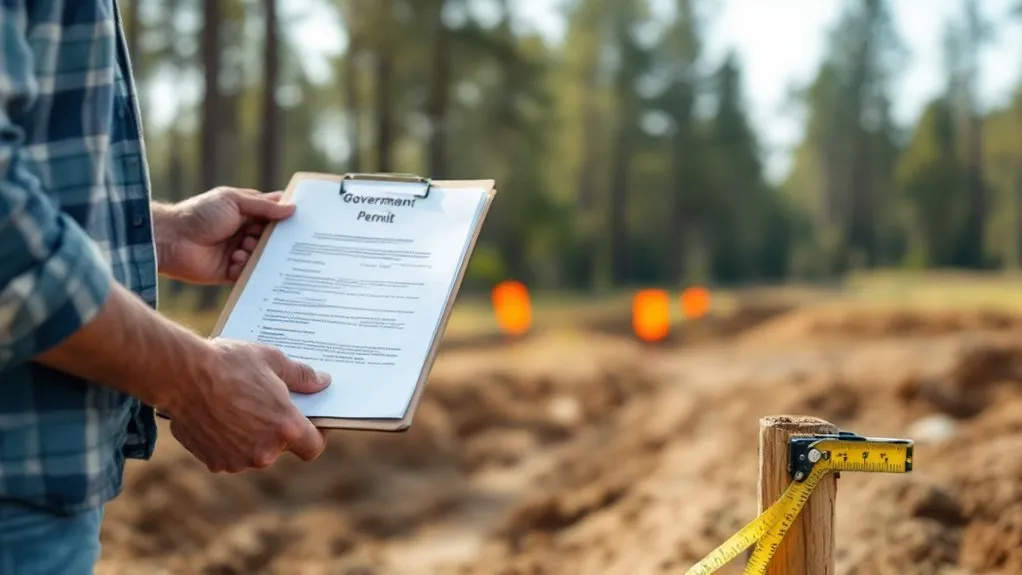
Before you swing a single chainsaw or fire up the bulldozer, check whether your local municipality requires a land clearing permit. Skipping this step can result in hefty fines, work stoppages, or mandatory restoration costs.
Contact your local zoning office or visit their website to understand what’s required. Some jurisdictions restrict clearing near wetlands, slopes, or protected tree species.
Some jurisdictions restrict land clearing near wetlands, slopes, and protected tree species — always check local requirements first.
You’ll also want to verify setback requirements and erosion control regulations. Pulling the correct permits upfront keeps your project legally compliant and prevents costly delays.
A quick phone call now saves you significant headaches once the real work begins.
Mark Trees, Utilities, and Structures Before You Touch Anything
Once your permits are squared away, the next step is marking everything that needs to stay put or stay safe. Use spray paint, flags, or stakes to clearly identify trees you’re keeping, underground utilities, and existing structures. Call 811 before digging—it’s free and required by law in most states.
Choose the Right Land Clearing Method for Your Property
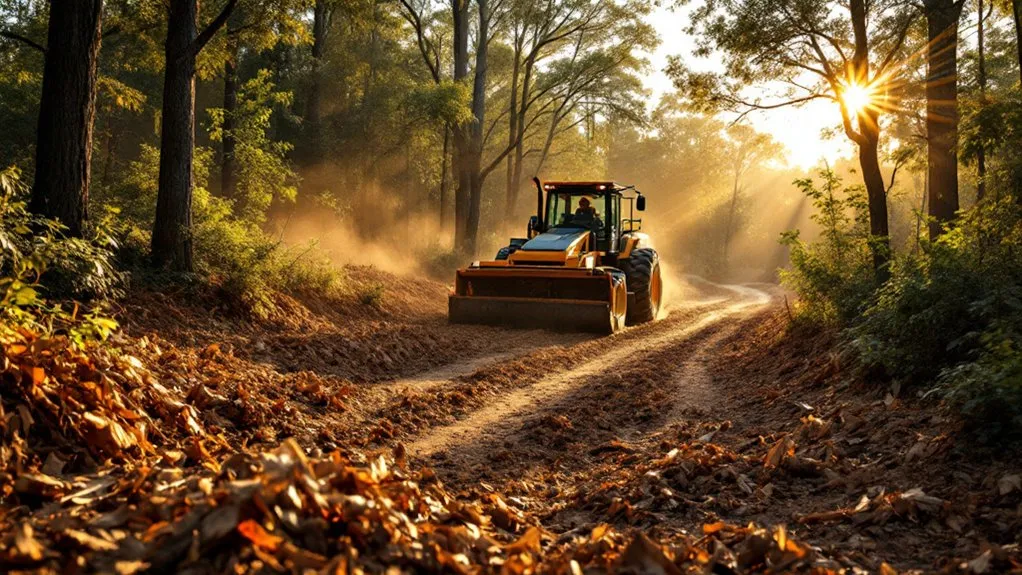
Not every property calls for the same approach, and picking the wrong method can cost you time, money, and equipment.
For small lots with light brush, hand clearing or a brush cutter works efficiently. Dense woodland requires heavy machinery like bulldozers or forestry mulchers.
Small lots need simple tools. Dense woodland demands heavy machinery. Match your equipment to the job.
If you’re dealing with stumps, a stump grinder saves you from digging by hand. Controlled burning suits large rural properties but demands permits and careful oversight.
Assess your soil type, vegetation density, and project scope before committing to a method.
Matching the right technique to your property’s conditions keeps your timeline on track and prevents costly mistakes.
Decide Whether to Rent Land Clearing Equipment or Hire a Crew
After choosing a clearing method, you’ll need to decide who—or what—does the work.
Renting equipment makes sense if you have experience operating machinery, a small property, and time to spare. It’s typically cheaper upfront but demands physical labor and technical skill.
Hiring a professional crew costs more but delivers speed, expertise, and proper debris disposal. They’ll also carry liability insurance, protecting you if something goes wrong.
Consider your timeline, budget, and physical ability before choosing. For large or heavily wooded properties, professionals usually deliver better results faster than a DIY approach ever could.
Handle Debris Removal and Erosion Control After Clearing
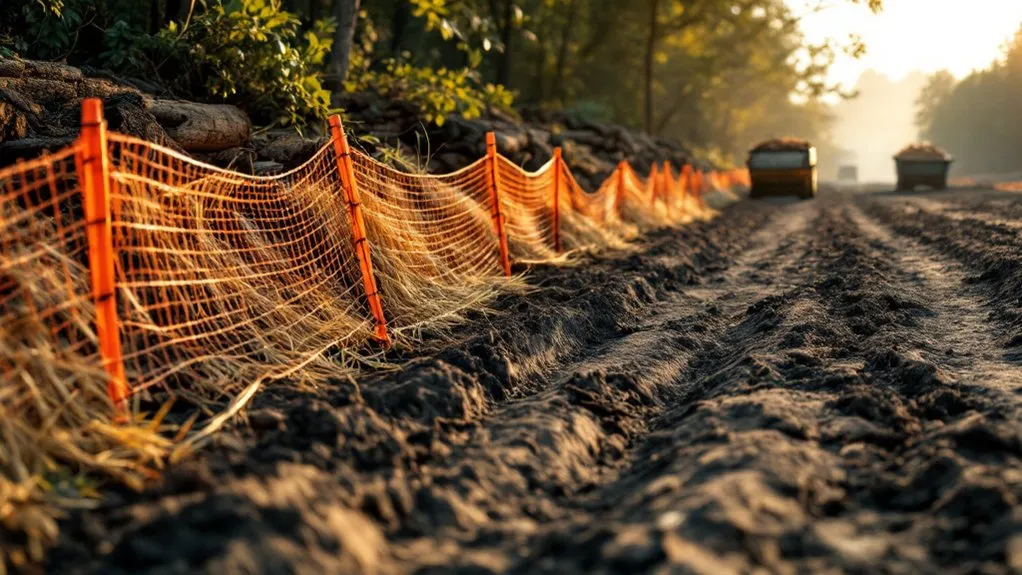
Clearing your land creates a new set of challenges—debris piles up fast, and exposed soil erodes just as quickly without proper intervention.
Chip brush and branches into mulch you can reuse on-site to reduce hauling costs while protecting bare soil. Burn or haul larger stumps and logs if local regulations permit.
Chip brush into reusable mulch on-site—it cuts hauling costs and shields bare soil from the start.
Once debris is gone, install silt fences or straw wattles along slopes to intercept runoff. Seed exposed areas with fast-germinating cover crops like ryegrass to stabilize the soil quickly.
Don’t wait—erosion begins the moment rain hits unprotected ground, undoing your clearing work before landscaping even starts.
Frequently Asked Questions
How Long Does Professional Land Clearing Typically Take to Complete?
Professional land clearing typically takes anywhere from a few hours to several weeks, depending on your project’s size and complexity.
If you’ve got a small residential lot, you’re likely looking at one to three days.
For larger properties with dense vegetation, heavy trees, or rocky terrain, you’ll need to budget more time.
Your contractor will assess the land’s conditions and give you a more accurate timeline before work begins.
Does Land Clearing Negatively Impact Surrounding Soil Nutrients and Composition?
Yes, land clearing can negatively impact your surrounding soil’s nutrients and composition.
When you remove vegetation, you’re stripping away organic matter that feeds the soil. You’ll also disrupt beneficial microorganisms and earthworms that maintain soil health.
Erosion becomes a real concern, washing away your topsoil and its nutrients.
However, you can minimize damage by using professional techniques like selective clearing, adding compost afterward, and implementing erosion control measures to restore your soil’s natural balance.
What Time of Year Is Best for Land Clearing Projects?
Late winter to early spring is generally your best window for land clearing projects.
The ground is firm enough to support heavy equipment, but the soil isn’t frozen solid. Vegetation is dormant, making removal easier and less disruptive to surrounding plants.
You’ll also avoid nesting season for many wildlife species. Additionally, clearing before spring rains gives your soil time to stabilize before you begin landscaping preparations.
Can Land Clearing Increase or Decrease Your Overall Property Value?
Land clearing can both increase and decrease your property value, depending on how you approach it.
When you remove overgrown vegetation, dead trees, and debris, you’re creating usable space that attracts buyers and boosts curb appeal.
However, if you clear too aggressively and strip away mature trees or natural features, you’ll actually lower your value.
Strike a balance by preserving desirable natural elements while removing unwanted growth.
How Much Does Professional Land Clearing Cost per Acre?
Professional land clearing typically costs you between $1,500 and $3,000 per acre, but prices can vary considerably based on several factors.
If your land has dense vegetation, large trees, or rocky terrain, you’ll likely pay more. Lightly wooded areas cost less to clear.
Your location also affects pricing, as labor rates vary by region.
Always get multiple quotes from contractors to get the best value for your investment.
Conclusion
Clearing land the right way sets the foundation for everything that comes after. You’ve got to respect the permits, protect what’s worth keeping, and match your method to the job at hand. Whether you’re renting equipment or hiring professionals, smart planning saves you time and money. Don’t skip erosion control once the work’s done—it’ll protect your investment. Follow these five tips, and you’re ready to landscape with confidence.