You’ll achieve the best sod installation results by timing it with your climate’s most favorable growing season. Spring offers ideal 60-75°F temperatures and natural rainfall, while fall provides excellent root development conditions for cool-season grasses. Summer installations require twice-daily watering and heat protection, whereas winter demands dormant varieties and extended establishment periods. Choose grass types that match your regional climate—cool-season varieties for northern areas, warm-season varieties for southern regions. These seasonal strategies will transform your lawn’s success rate.
Key Takeaways
- Install sod during ideal temperatures of 60-75°F in spring or fall for optimal establishment and growth.
- Water newly installed sod twice daily during summer heat, applying one inch per session to prevent shock.
- Choose climate-appropriate varieties: cool-season grasses for northern regions, warm-season grasses for southern climates.
- Prepare soil properly by removing debris, testing pH, adding amendments, and applying starter fertilizer before installation.
- Avoid foot traffic on new sod for three weeks and install 6-8 weeks before the first frost.
Spring Sod Installation: Leveraging Moderate Temperatures and Natural Rainfall

While summer’s scorching heat can stress newly laid sod, spring offers ideal conditions that’ll give your lawn the best chance to establish strong roots.
You’ll benefit from moderate temperatures ranging between 60-75°F, which prevent shock while promoting steady growth. Spring’s natural rainfall reduces your watering responsibilities and provides consistent moisture without oversaturation.
Install your sod when soil temperatures reach 50°F and after the last frost date.
You’ll want to prepare the soil by removing debris, testing pH levels, and adding amendments if needed.
Apply a starter fertilizer before laying sod to encourage rapid root development and establishment.
Summer Sod Installation: Managing Heat Stress and Intensive Watering Requirements
Summer sod installation presents greater challenges but remains achievable with proper planning and dedication to intensive care.
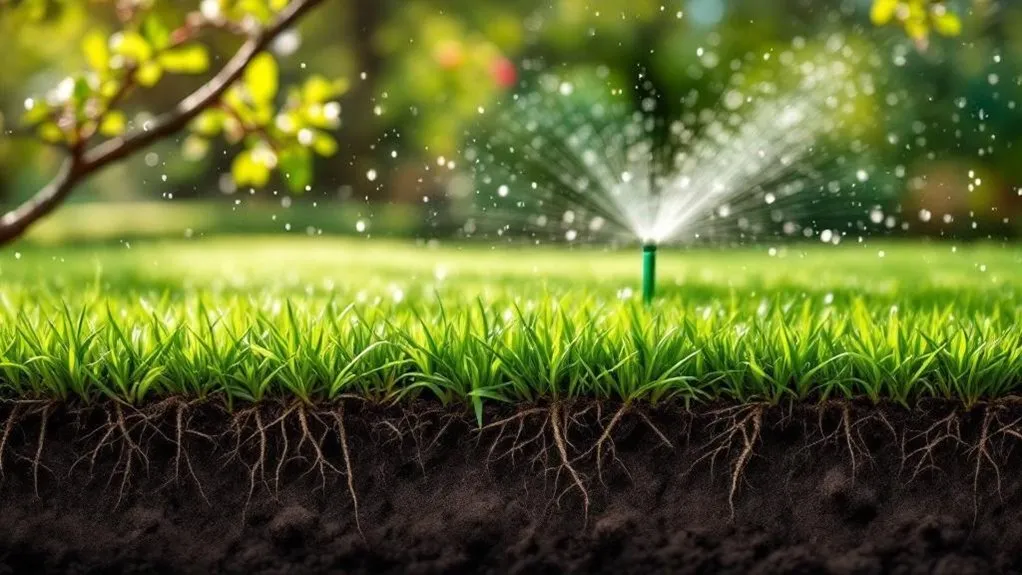
You’ll need to water newly installed sod twice daily during peak heat—early morning and late afternoon. Apply one inch of water each session, checking soil moisture beneath the sod to guarantee penetration.
Install sod early in the morning or late in the evening to minimize transplant shock. Keep foot traffic completely off new sod for three weeks. Provide temporary shade cloth during extreme heat waves above 90°F.
Monitor edges and seams closely, as they’re most vulnerable to drying out and require additional spot watering throughout the day.
Fall Sod Installation: Maximizing Optimal Root Development Conditions

Fall provides the ideal window for sod installation, as cooler temperatures and increased rainfall create perfect conditions for robust root establishment.
You’ll benefit from reduced heat stress on newly laid grass, allowing roots to penetrate soil more effectively. Install sod 6-8 weeks before your area’s first hard frost to guarantee adequate establishment time.
Water less frequently than summer installations – typically every other day initially, then reduce as roots develop. Take advantage of natural moisture from fall rains, but don’t let sod dry completely.
Cool-season grasses particularly thrive when installed during autumn’s favorable growing conditions.
Winter Sod Installation: Working With Dormancy and Cold Weather Challenges
Although winter presents the most challenging conditions for sod installation, you can still achieve successful results with proper planning and modified techniques. Focus on dormant grass varieties that tolerate cold stress better than actively growing sod.
| Winter Challenge | Solution |
|---|---|
| Frozen ground | Wait for thaw periods |
| Limited root growth | Extend the establishment timeline |
| Reduced water uptake | Monitor soil moisture carefully |
You’ll need to adjust your timeline considerably. Root development slows dramatically in cold temperatures, so expect 2-3 times longer establishment periods. Water sparingly but consistently, and avoid foot traffic altogether until spring growth begins.
Choosing Climate-Appropriate Sod Varieties for Year-Round Success

Your sod installation success hinges on selecting grass varieties that thrive in your specific climate zone and seasonal conditions.
Cool-season grasses like fescue, bluegrass, and ryegrass perform best in northern regions with cold winters and moderate summers. They’re ideal for fall installation when temperatures drop below 80°F.
Warm-season varieties, including Bermuda, Zoysia, and St. Augustine, excel in southern climates with hot summers and mild winters. Install these during late spring through early summer when soil temperatures consistently reach 65°F or higher.
Match your grass type to local rainfall patterns, humidity levels, and temperature extremes for peak establishment and long-term lawn health.
Frequently Asked Questions
How Long Should I Wait Before Walking on Newly Installed Sod?
You should wait at least two to three weeks before walking on your newly installed sod.
During this time, the roots need to establish themselves in the soil below. Walking on it too early can damage the delicate root system and create uneven spots.
After three weeks, test a small corner by gently lifting it – if it resists and feels firmly rooted, it’s ready for light foot traffic.
What Type of Fertilizer Should I Use After Sod Installation?
You’ll want to use a starter fertilizer with high phosphorus content immediately after sod installation.
Look for a balanced formula like 10-10-10 or specifically designed sod starter fertilizers. Apply it before laying the sod directly to the soil, then water thoroughly.
After about 4-6 weeks, switch to a nitrogen-rich fertilizer to promote healthy growth.
Don’t over-fertilize initially, as new sod’s roots are still establishing and can burn easily.
How Do I Fix Air Pockets or Gaps Between Sod Pieces?
You’ll need to address air pockets and gaps immediately for proper sod establishment.
Lift the affected sod pieces carefully, then add or remove soil underneath to create a level surface. Press the sod down firmly, guaranteeing it makes good contact with the soil below.
For gaps between pieces, push the sod together tightly, creating seamless joints.
Roll the entire area with a lawn roller to eliminate remaining air pockets and guarantee uniform soil contact.
Can I Install Sod on Slopes or Uneven Terrain?
You can install sod on slopes, but it’s challenging and requires extra care.
For gentle slopes under 30%, you’ll need to secure the sod with stakes or biodegradable pins to prevent shifting. Roll sod perpendicular to the slope’s direction and guarantee proper soil preparation.
Steep slopes over 30% aren’t recommended for sod installation due to erosion risks. Consider terracing or retaining walls for extremely uneven terrain before laying sod.
What Soil Preparation Steps Are Needed Before Laying Sod?
You’ll need to test your soil‘s pH and nutrient levels first.
Remove existing grass, weeds, and debris completely.
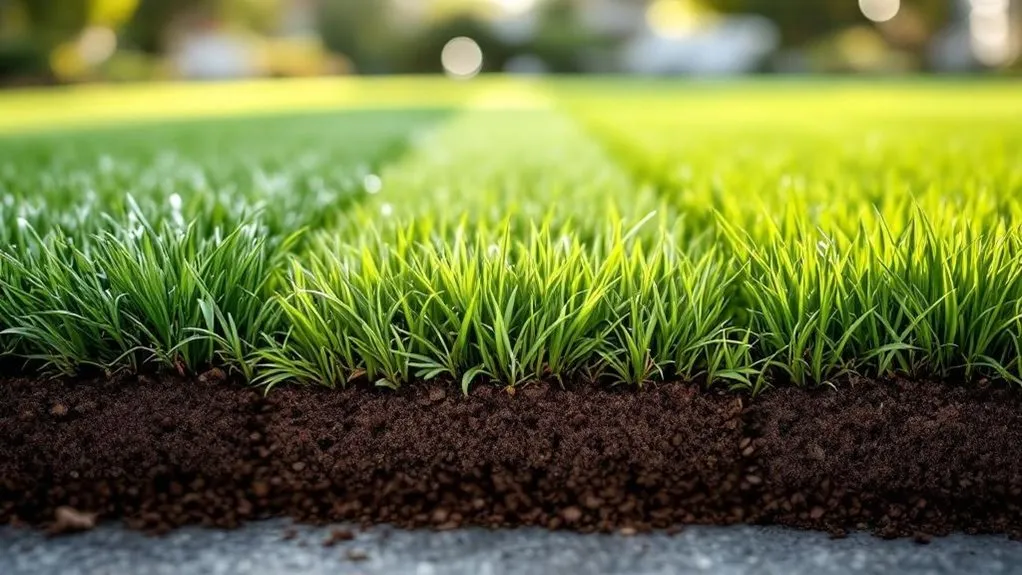
Till the soil 4-6 inches deep, then add compost or organic matter to improve texture and drainage.
Level the area using a rake, ensuring proper grading for water runoff.
Apply starter fertilizer according to package directions.
Finally, lightly water the prepared soil and roll it smooth to create an even, firm surface that’s ready for sod installation.
