To prepare soil for successful sod installation, start by testing pH levels (aim for 6.0-7.0) and nutrient content. Remove all debris, rocks, and existing vegetation from the area. Till the soil 4-6 inches deep when it’s not too wet. Create a 1-2% slope away from buildings for drainage, then level the surface with a rake or drag mat. Add amendments like compost, lime, or gypsum based on your soil needs. These foundation steps guarantee your new lawn will thrive.
Key Takeaways
- Test soil pH and nutrient levels, aiming for a pH range of 6.0-7.0 with balanced nitrogen, phosphorus, and potassium.
- Remove all debris, existing grass, weeds, and small vegetation, ensuring complete root system extraction.
- Till soil to a 4-6 inch depth when it’s not too wet, working perpendicular to slopes to prevent erosion.
- For proper drainage, create a 1-2% slope away from buildings and level the soil surface with a lawn roller.
- Based on soil test results, add soil amendments like compost (1-2 inch layer), lime, or gypsum.
Soil Testing: Understanding Your Lawn’s Foundation

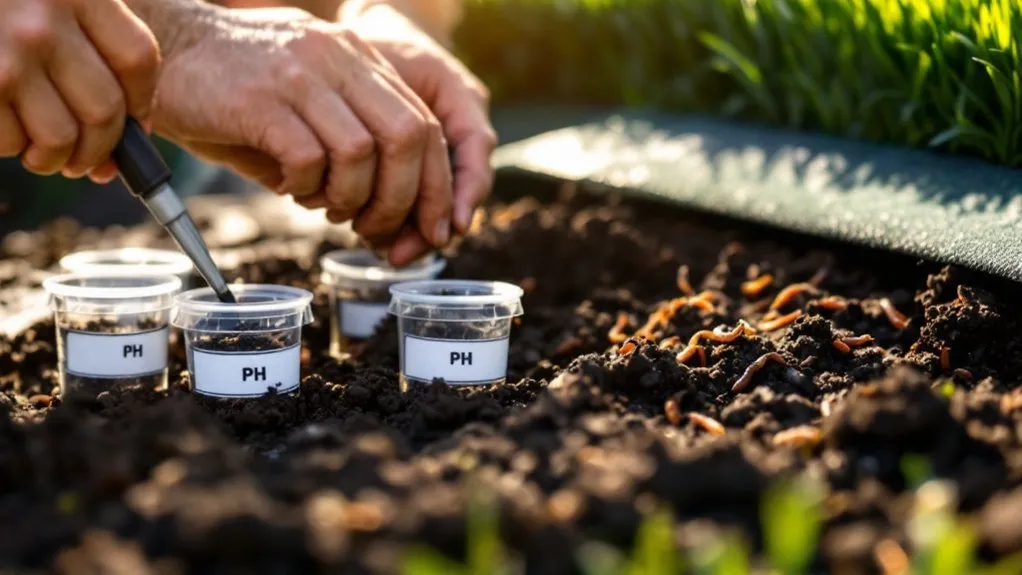
Before you invest time and money in new sod, you’ll need to understand what’s happening beneath the surface. A soil test reveals essential information about pH levels, nutrient content, and potential toxicities that could affect your new lawn’s health.
You can purchase DIY soil testing kits from garden centers or send samples to your local extension office for a thorough analysis. Look for results that indicate a pH between 6.0 and 7.0 and balanced levels of nitrogen, phosphorus, and potassium.
Testing now saves headaches later – it’s much easier to amend soil before laying sod than attempting to correct problems afterward.
Clearing the Canvas: Removing Debris and Existing Vegetation
Once your soil test results are in hand, it’s time to give your future lawn a clean slate. Start by removing all visible debris, like rocks, sticks, and trash, that could impede root growth.
| Vegetation Type | Removal Method |
|---|---|
| Existing grass | Sod cutter or herbicide |
| Weeds | Manual pulling or targeted herbicide |
| Small shrubs | Dig out roots completely |
| Tree saplings | Remove entire root system |
For established lawns, use a sod cutter to remove the top layer. Alternatively, apply a non-selective herbicide and wait 7-10 days for complete vegetation death before proceeding with soil preparation.
Breaking Ground: Proper Tilling Techniques

Loosening the soil through proper tilling creates an ideal foundation for your new sod to establish strong roots.
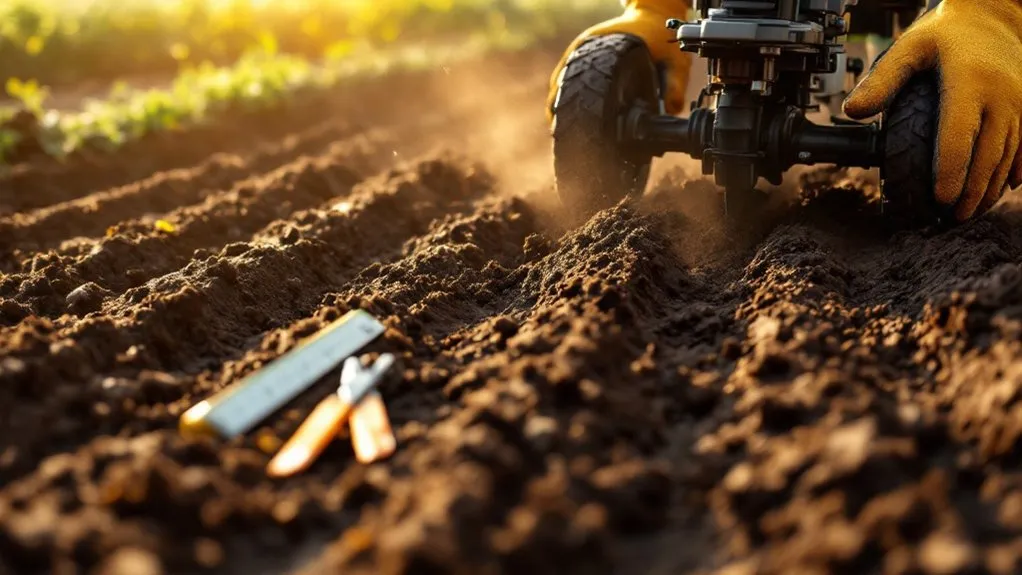
You’ll want to till to a depth of 4-6 inches, working perpendicular to any slopes to prevent erosion.
A garden fork or rotary tiller works well for small areas. A mechanical tiller, which you can rent from most hardware stores, may be required for larger spaces.
Avoid tilling when the soil is too wet—it should crumble, not clump.
After the initial pass, remove any newly exposed rocks or roots, then till once more to incorporate amendments.
The result should be a fluffy, even surface ready for sod installation.
Creating the Perfect Grade: Leveling Your Soil Surface
A properly leveled soil surface guarantees your sod will establish evenly and prevent drainage issues after installation.
After tilling, use a lawn roller to compact the soil slightly, then rake the area to remove stones and debris.
For accuracy, create a 1-2% slope away from buildings using a transit level. A long board with a carpenter’s level works well for small areas.
Fill low spots with topsoil and remove excess from high areas.
Smooth the surface with a drag mat or the back of a rake. You’ll know you’re done when walking across leaves minimal footprints and water doesn’t pool anywhere.
Soil Amendments: Adding Nutrients and Improving Structure

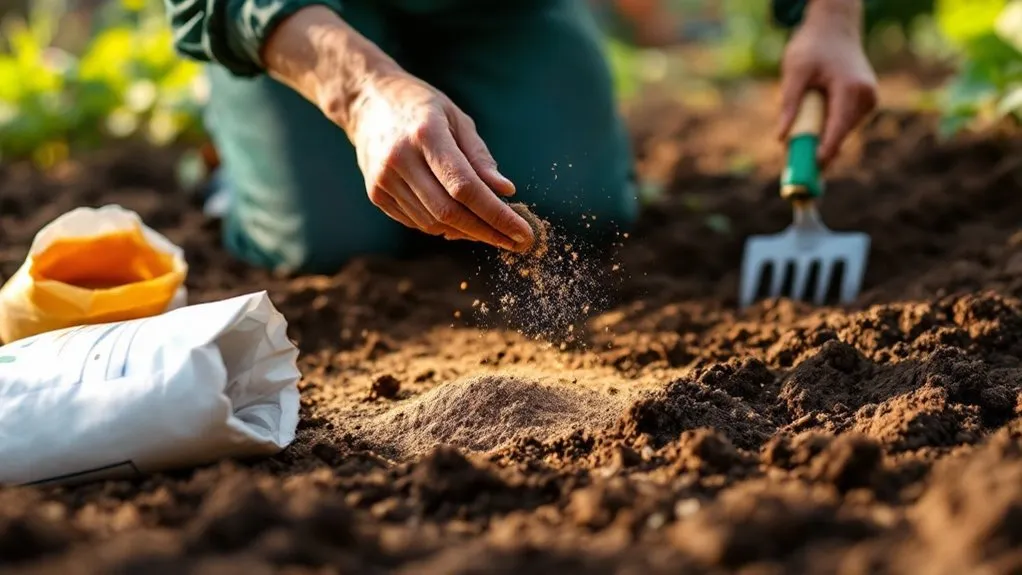
Before installing sod, you’ll need to enhance your soil with the right amendments to promote healthy root development and long-term lawn success. Test your soil’s pH and nutrient levels first, aiming for a slightly acidic pH of 6.0-7.0.
| Amendment | Benefit | Application Rate |
|---|---|---|
| Compost | Improves drainage & adds microbes | 1-2″ layer |
| Lime | Raises pH in acidic soils | 50 lbs/1000 sq ft |
| Gypsum | Breaks up clay without changing pH | 40 lbs/1000 sq ft |
Work amendments into the top 4-6 inches of soil using a rototiller for thorough integration.
Final Preparations: Compacting and Moistening Before Sod Arrival
After improving your soil’s nutrient profile, you’ll need to prepare the surface for sod placement properly. The final steps guarantee your new sod makes immediate contact with soil, promoting quick root establishment.
To properly finish soil preparation:
- Roll the entire area with a lawn roller filled halfway with water to identify and level low spots.
- Water the soil to a 3-inch depth the day before sod delivery.
- Allow the soil to dry slightly until it’s moist but not muddy.
- To create a loose 1/4-inch layer for root penetration, perform a final light raking immediately before installation.
Frequently Asked Questions
Can I Install Sod Over Existing Grass?
No, you shouldn’t install sod over existing grass. The old grass will decompose beneath the new sod, creating air pockets that prevent proper root establishment.
You’ll need to delete the existing grass, either by using a sod cutter, applying herbicide, or manually digging it up.
Then prepare the soil by tilling, leveling, and adding amendments before laying your new sod for successful growth.
How Soon After Installation Can I Walk on New Sod?
You should avoid walking on new sod for at least 2-3 weeks after installation.
The roots need time to knit into the soil beneath during this essential establishment period.
If you absolutely must walk on it, wait until after the first watering so the sod settles, then step very lightly and quickly.
Once your sod has rooted profoundly and you’ve mowed it for the first time, it’s generally safe for regular foot traffic.
What’s the Best Time of Year to Install Sod?
The best time to install sod is during spring or fall when temperatures are cooler.
You’ll get ideal root growth during these seasons as the moderate climate reduces stress on the new grass.
Early spring allows roots to establish before summer heat, while fall installations benefit from warm soil and cool air.
Avoid summer when excessive watering is needed and winter when freezing can damage new sod before it establishes.
How Often Should I Water Newly Installed Sod?
You’ll need to water your newly installed sod frequently to establish strong roots.
Water immediately after installation, then twice daily for the first week (morning and afternoon).
During the second week, reduce to once daily.
By weeks three and four, water every other day.
After a month, you can shift to a weekly watering schedule of 1-1.5 inches.
Don’t let the sod dry out during establishment.
How Long Until My Sod Roots Establish in the Soil?
Your sod will establish roots in about 2-3 weeks under ideal conditions, but complete establishment takes 4-6 weeks.
You’ll know roots are developing when you can’t easily lift the sod edges. Climate, season, and maintenance affect timing – warm weather speeds it up, and cold weather slows it down.
Don’t reduce watering until you’ve confirmed root establishment by gently tugging on the grass. Once rooted, gradually shift to a regular watering schedule.
