Create stunning garden sheds on a budget by repurposing pallets for walls and floors or installing lean-to designs against existing structures. Transform plain plastic storage units with decorative molding and custom paint, or hunt for character-rich secondhand building materials like weathered barn wood and vintage windows. Add charm with bold door colors, window boxes, and solar lighting. Your shed can become a garden centerpiece without breaking the bank—these five clever approaches will show you how.
Key Takeaways
- Repurpose wooden pallets for shed walls and floors, sealing them with exterior-grade products for durability and weather resistance.
- Create cost-effective lean-to designs against existing structures, incorporating clear roofing panels for natural workspace lighting.
- Transform basic plastic storage units with stone foundations, decorative molding, and custom paint for enhanced style.
- Source secondhand building materials like weathered barn wood, antique windows, and reclaimed brick for character and savings.
- To elevate visual appeal, add budget-friendly finishing touches such as bold accent colors, solar lighting, and window boxes.
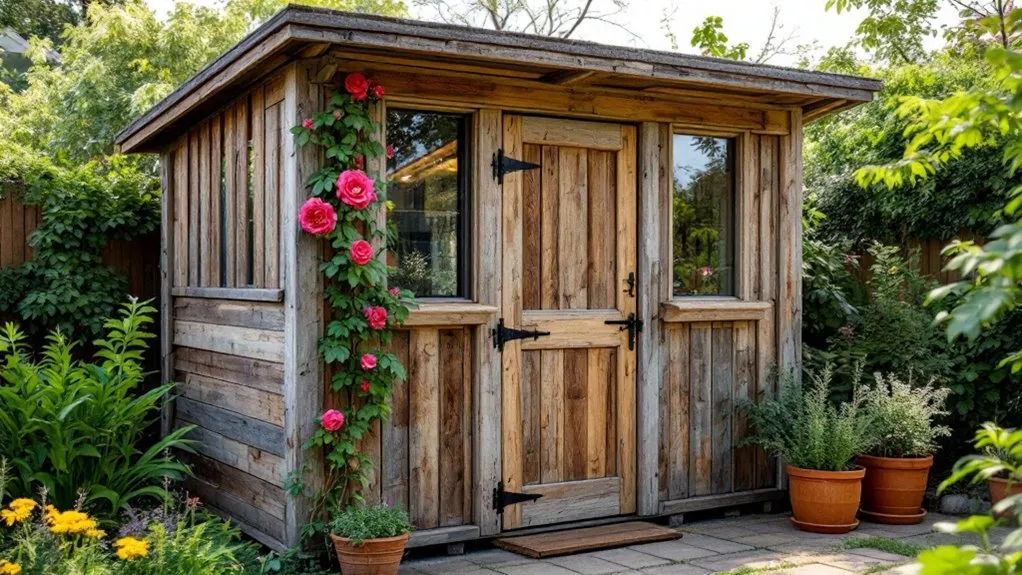
Repurposed Pallet Sheds: From Shipping Waste to Garden Showcase

While landfills overflow with discarded shipping materials, your garden can transform these castoffs into a charming and functional space.
Pallets offer sturdy foundations for shed walls, floors, and roofing when properly treated and sealed against moisture.
You must dismantle pallets carefully, remove nails, and sand rough edges.
Arrange the planks in overlapping patterns for better weatherproofing, and consider adding reclaimed windows for natural light.
For durability, apply exterior-grade sealant and elevate your structure on concrete blocks to prevent rot.
Add salvaged hardware for doors and customize with herb planters along exterior walls for a practical and environmentally responsible shed.
Lean-To Designs That Maximize Space and Minimize Costs
Lean-to designs offer the perfect solution when garden space comes at a premium or your budget demands careful planning.
By attaching your shed directly to an existing structure, you’ll save on materials while creating a seamless extension of your home.
- Position against a fence or wall to eliminate the need for one or more sides
- Use clear roofing panels on one section to create a natural light workspace.
- Install fold-down workbenches that tuck away when not in use
- Incorporate vertical storage systems to utilize wall space efficiently
Clever Ways to Transform Plastic Storage Units

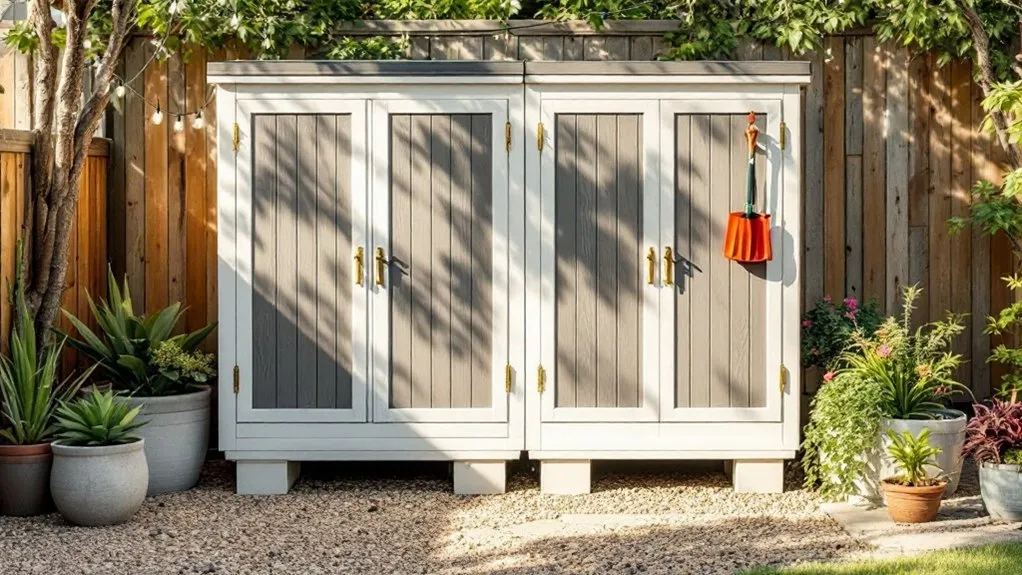
Plastic storage units offer affordability and durability that their wooden counterparts can’t always match. Transform these practical structures into stylish garden features by adding a stone foundation, decorative molding, or a custom paint job.
| Transformation | Materials Needed | Difficulty Level |
|---|---|---|
| Faux Wood Exterior | Vinyl siding, adhesive | Medium |
| Living Roof | Shallow planters, succulents | Advanced |
| Built-in Shelving | PVC pipes, brackets | Easy |
Don’t overlook lighting options—solar pathway lights around your unit create an evening ambiance while improving functionality. Add window boxes with cascading plants to soften plastic edges and integrate your shed with surrounding garden elements.
Secondhand Building Materials That Add Character
Salvaged materials breathe life and history into garden sheds, reducing environmental impact and construction costs.
You’ll find these treasures at architectural salvage yards, demolition sites, and online marketplaces, where one person’s discard becomes your shed’s distinctive feature.
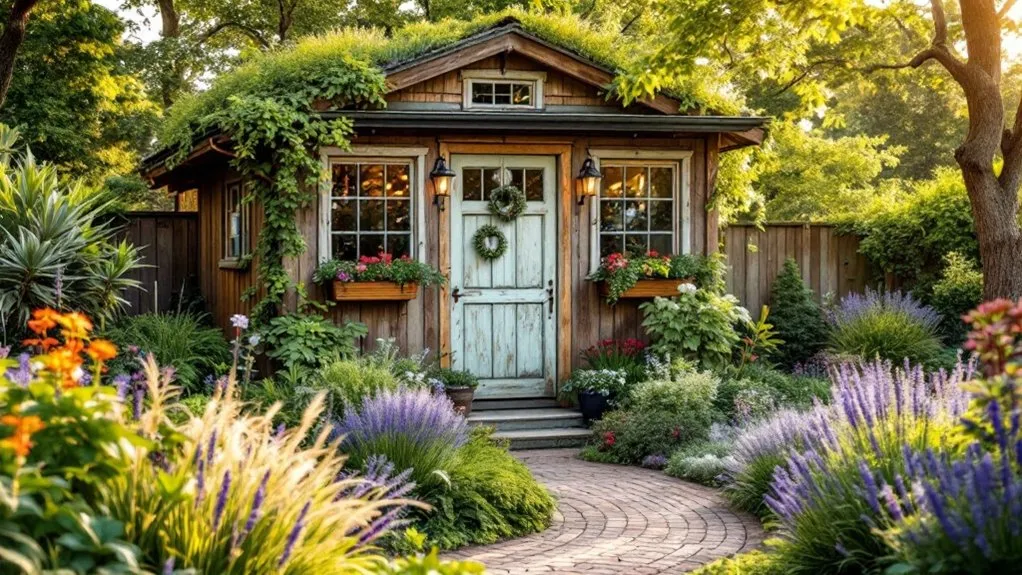
- Weathered barn wood panels create rustic exterior walls that showcase natural patina and character.
- Antique windows with wavy glass panes filter sunlight beautifully while providing vintage charm.
- Reclaimed brick or stone forms sturdy foundations with timeworn textures that are impossible to replicate.
- Old doors repurposed as entrances bring a unique personality and history to your garden sanctuary.
Simple Foundation Options for DIY Installation

While reclaimed materials give your shed character and history, the foundation beneath determines its stability and longevity.
You don’t need complex concrete footings for most garden sheds.
Consider these DIY-friendly options:
- Concrete pavers on compacted gravel provide excellent drainage and prevent settling
- Pressure-treated lumber skids create an elevated base that protects against moisture
- Pre-made plastic shed bases offer quick installation and proper ventilation
- Crushed stone beds work well for smaller sheds and require minimal tools
Choose your foundation based on your shed’s size, soil type, and local climate conditions.
Even the simplest option will extend your shed’s life dramatically.
Budget-Conscious Finishing Touches That Elevate Appearance
Once your shed structure is complete, adding thoughtful design elements will not only fit your budget but also significantly enhance its visual appeal.
Transform your basic shed into a garden feature with these affordable finishing touches that create professional results.
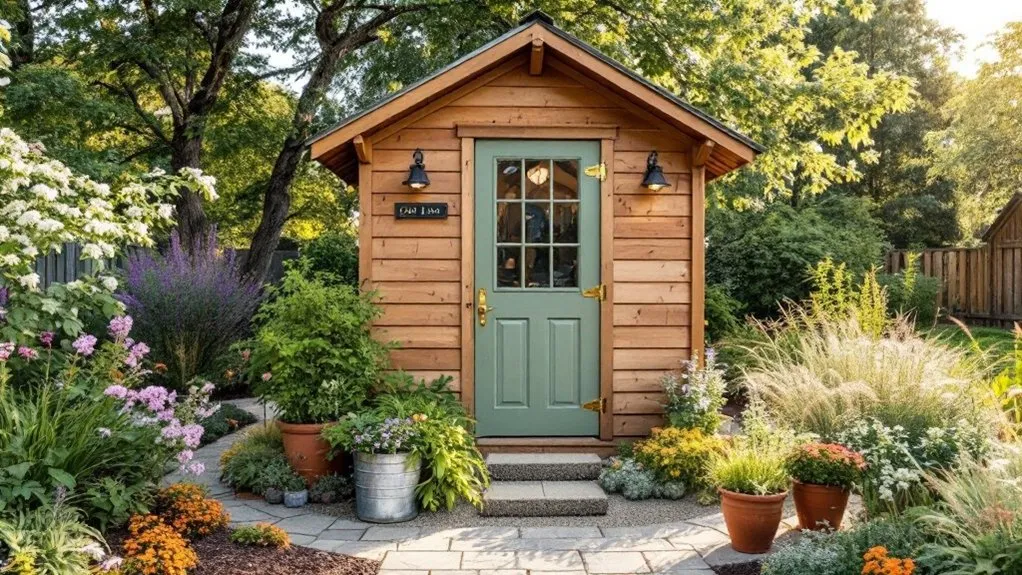
- Paint the door a bold accent color that complements your garden palette.
- Install solar-powered path lights along the entrance for functionality and charm.
- Add window boxes with seasonal flowers to soften the structure’s lines.
- Hang decorative hardware like vintage-style hinges and handles for character.
Planting Strategies to Integrate Your Shed Into the Landscape

When surrounded by strategic plantings, a thoughtfully placed garden shed becomes a seamless part of your landscape.
Choose low-maintenance perennials that complement your shed’s color and style. Plant taller shrubs behind to create a backdrop, medium-height plants along the sides, and ground covers in front for a layered effect.
Consider climbing plants like jasmine or clematis to soften harsh edges. Native wildflowers attract pollinators while requiring minimal care.
For year-round appeal, include evergreens that provide structure during winter months. To enhance the connection between the shed and the garden, create a small path with stepping stones flanked by herbs or ornamental grasses.
Frequently Asked Questions
How Do Local Building Codes Affect Garden Shed Installations?
Local building codes greatly affect your garden shed installation.
You’ll need permits for sheds exceeding specific dimensions, typically 100-200 square feet. Codes regulate setbacks (distance from property lines), height restrictions, and foundation requirements.
They may limit where you can place your shed and what materials you can use.
Check with your local building department before starting construction to avoid fines or having to remove non-compliant structures.
Don’t skip this essential step.
What’s the Average Timeframe for a DIY Shed Installation Project?
The average timeframe for a DIY shed installation project is 2-5 days, depending on your experience level and shed complexity.
You’ll need about one day for foundation preparation, one to two days for assembling the structure, and another day for finishing touches.
Working with a helper will speed things up considerably.
Weather conditions and material availability can also impact your timeline, so adding a buffer day or two is wise.
How Much Weight Can Different Shed Roofing Materials Support?
Different shed roofing materials support varying weights.
Asphalt shingles handle about 20 pounds per square foot, which is perfect for moderate snow regions.
Metal roofing supports 30+ pounds and won’t collect debris.
Polycarbonate panels hold around 15-20 pounds but aren’t ideal for heavy snow.
Wood shingles support 25-30 pounds when properly installed.
You’ll need heavier support structures for slate or clay tiles, which can handle 40+ pounds but require reinforced framing underneath.
Can I Install Electricity or Plumbing in a Budget Garden Shed?
You can install electricity and plumbing in a budget garden shed, but costs vary widely.
For electrical, consider solar panels or running conduit from your home. Basic lighting might cost $100-300 DIY, while professional installation runs $500+.
Plumbing is more complex—rain barrels offer cheap water collection, but proper plumbing needs permits and professionals.
Check local building codes first, as many areas require permits for both services.
What Maintenance Is Required for Different Shed Material Types?
Wood sheds require the most maintenance – you must reseal or repaint every 2-3 years and check for rot or pest damage.
Metal sheds need occasional rust inspection and lubricating hinges.
Plastic/resin sheds require the least maintenance; they only need to be washed with soap and water yearly.
You’ll want to clean gutters, check roof integrity, and clear debris from the foundation regularly for all types.
Don’t forget to inspect door hardware annually regardless of material type.
